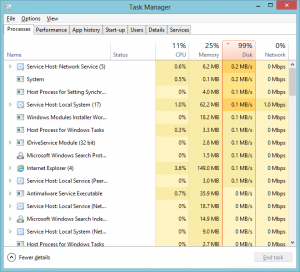
Windows 10 is good, but it’s not perfect, if you’ve upgraded from an older version of Windows, then you may be here because your system is hammering your disk usage.
None of these are ideal, and in my experience, only a fresh install of Windows 10 cured it.
Disable Superfetch and Windows Search Services
- Press Windows Key + R
- Type in “services.msc” without the quotes, press enter
- Find Superfetch in the list, double click it
- Press “Stop”
- Then change the startup type to “Disabled”
- Go to the Recovery tab, and choose all three options to be “Take no action”
- Repeat steps 3 – 6 for Windows Search
- Close and restart
- Cross fingers, hope it solves it
Disable BITS (Background Intelligent Transfer Service)
- Press Windows Key + R
- Type in “services.msc” without the quotes, press enter
- Find Background (BITS)… in the list, double click it
- Press “Stop”
- Then change the startup type to “Disabled”
- Go to the Recovery tab, and choose all three options to be “Take no action”
- Repeat steps 3 – 6 for Windows Search
- Close and restart
- Cross fingers, hope it solves it
Change Pagefile Settings
- Open up Control Panel (I always set Control Panel to View By Small Icons)
- Go to System
- Click on Advanced System Settings
- Under Performance, click Settings
- Go to advanced, click on “Change”
- Take the tick out of “Automatically manage paging file size for all drives”
- Then set it manually
- Click set,
- Click Ok, then restart
- Cross fingers, hope it solves it
Turn Off System Restore
Again, not an ideal workaround, but this has worked.
- Open up Control Panel
- Go to System
- Click on “System Protection”
- Click on the Local Disk – typically the C Drive
- Then click on Configure
- Put the spot in the “Disable system protection”
- Ok that, close it all, and restart
- Cross fingers, hope it solves it
Uninstall Google Chrome
Not one of my favourite workarounds, as Google Chrome is my browser of choice, but uninstalling it on one machine after doing all the others listed here did fix it, so it’s worth a go.
- Open Control Panel
- Go to Programs and Features
- Uninstall Google Chrome
Re-Install Windows
Obviously not a fix, or a workaround really, but it’s worth noting that if you are having issues, and don’t have too much installed that requires detailed configurations, an operating system reinstall may be your best bet.
Install an SSD Drive
This isn’t a fix, and I don’t recommend doing it to try and fix this issue, it’s a recommendation. If you’re having trouble with your system and you use it a lot, and you’re going to the trouble of reinstalling Windows. Then use an SSD as well (if you don’t already), they so much faster than traditional spinning platter disks. You won’t regret it.
In Summary
So those are the methods that have so far worked for me in some combination or another. I have to say, turning off System Restore, and disabling Superfetch and Windows Search are the most effective fixes so far. I’ll be updating this list with more fixes as and when I find them. But who knows, Microsoft may release a fix for it soon …